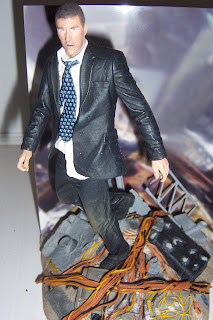
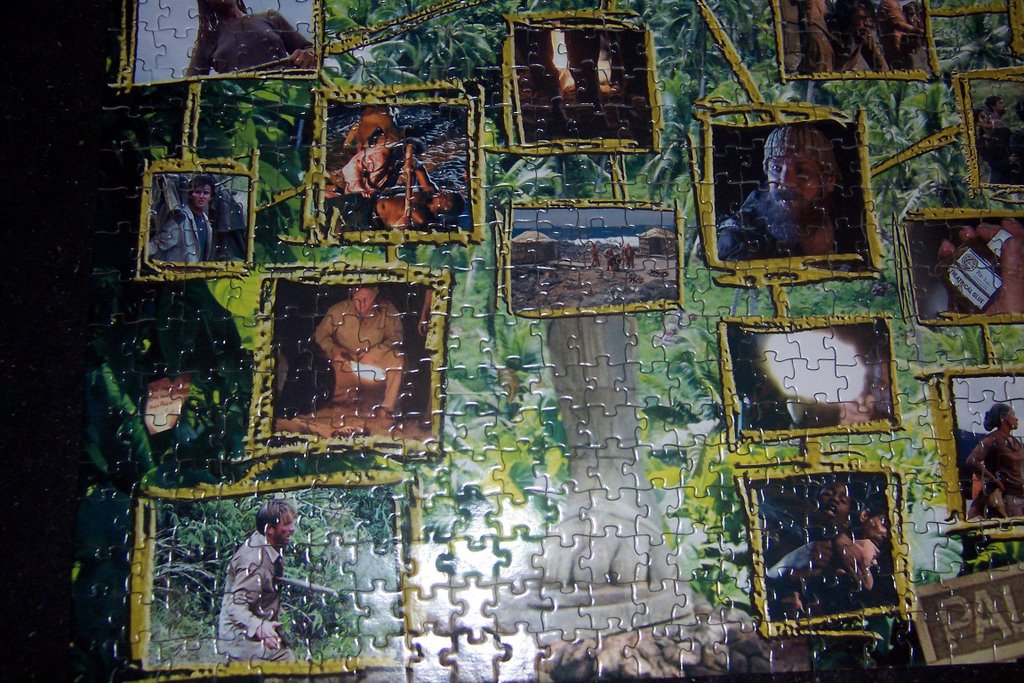
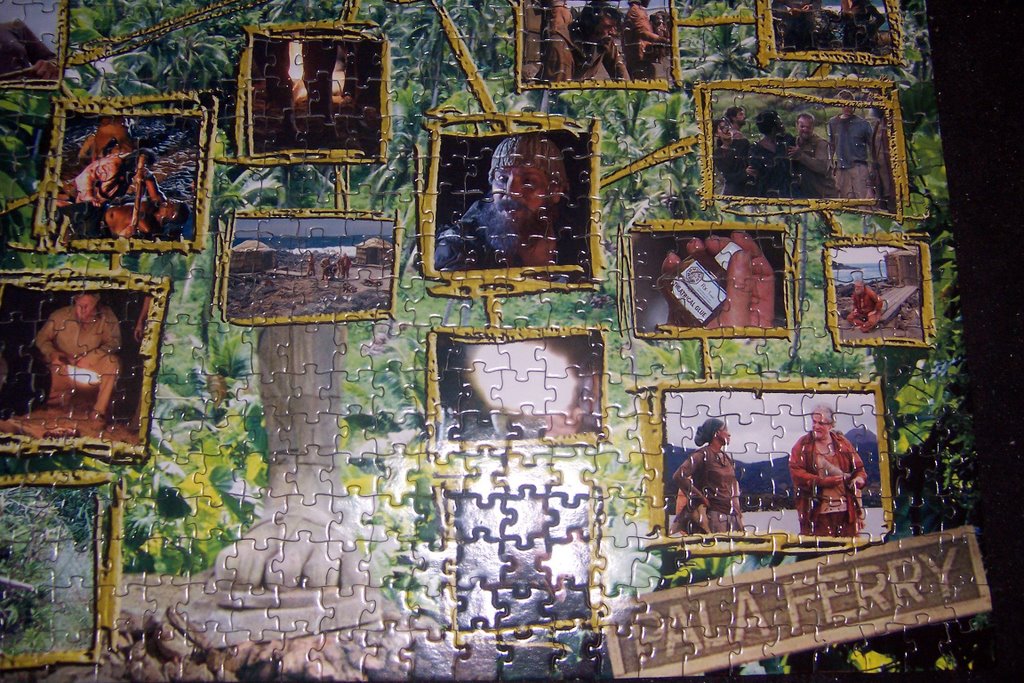
Here's a few photos of the Lost figures, for those of you who haven't seen them yet. They look great! Each figure comes with a cardboard backdrop and a small box that plays a couple of quotes from the show.
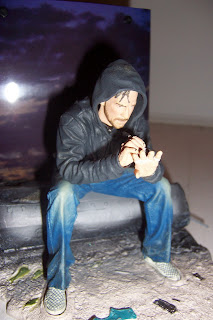 Charlie, writing "LATE" on his finger tape. He says, "Guys... where are we?" "You don't know me? I'm a bloody rock god!" and sings "You All Everybody... You All Everybody..."
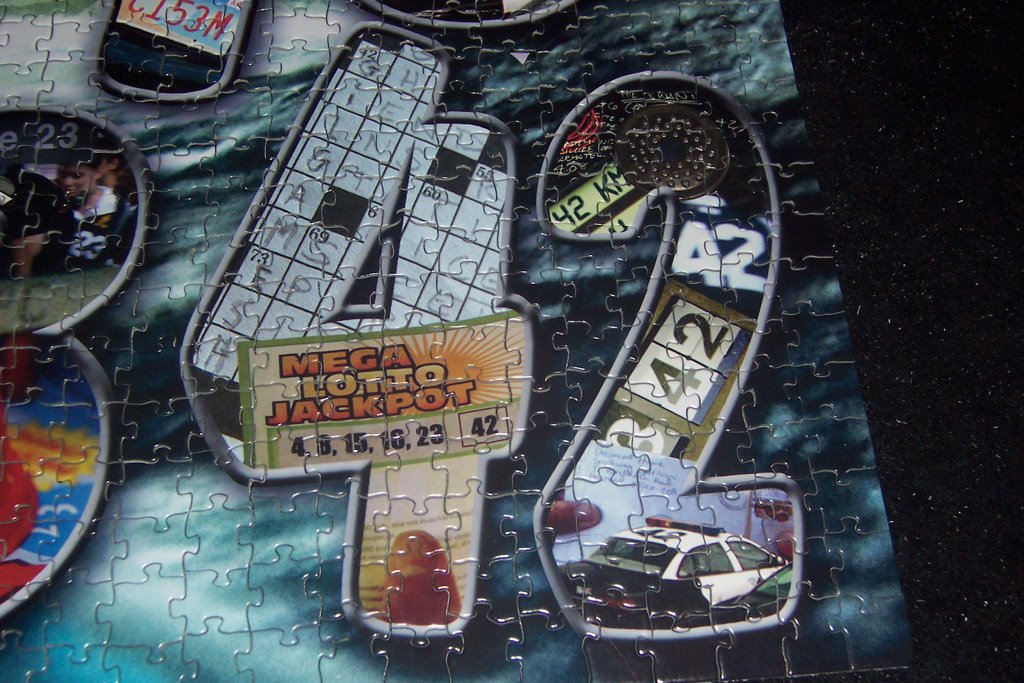
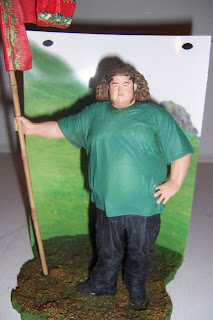 Hurley on his two-hole golf course. He says, "Welcome to the first... and hopefully last, Island Open," "Don't! Stop! The numbers are bad!" and "Dude, I'm starving... I'm no where NEAR that hungry."
 Locke, standing over the hatch, holding a knife and a water bottle. He says, "I looked into the eye of the island, and what I saw was beautiful," "Don't tell me what I can't do, EVER!" and "Do you want to know a secret?"
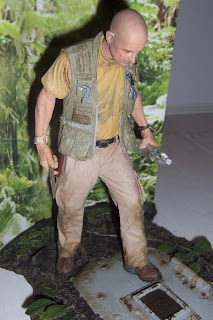
 Jack, standing on some wreckage of the plane. He says, "Everybody wants me to be a leader, until I make a decision they don't like," "There's something that you need to know... We're going to have a Locke problem, and I have to know that you've got my back," and of course, "If we can't live together, we're going to die alone."
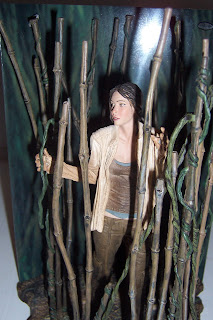 Kate, standing in the reeds where she hid from the monster in the pilot. She says, "JACK!" (followed by thunder and rain), "1... 2... 3... 4... 5..." "If you're thinking about going for the cockpit, I'm going with you," and "I only made out with him because torturing him didn't work."
 Shannon, lying on the beach shortly after the crash. The top is cut off, but that's Boone in the white t-shirt on the backdrop. She says, "What's a four-letter word for 'I don't care'?" "The plane had a black box, idiot... I'll eat on the rescue boat," and "You want my information? Name: Shannon Rutherford. Age: 20. Address: Craphole Island."
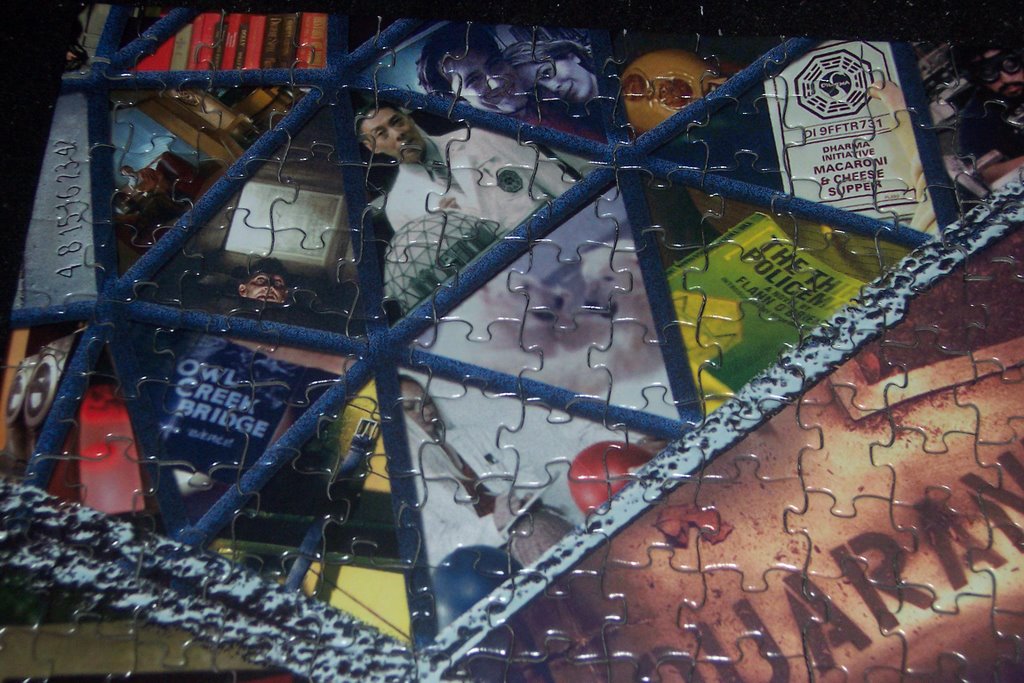
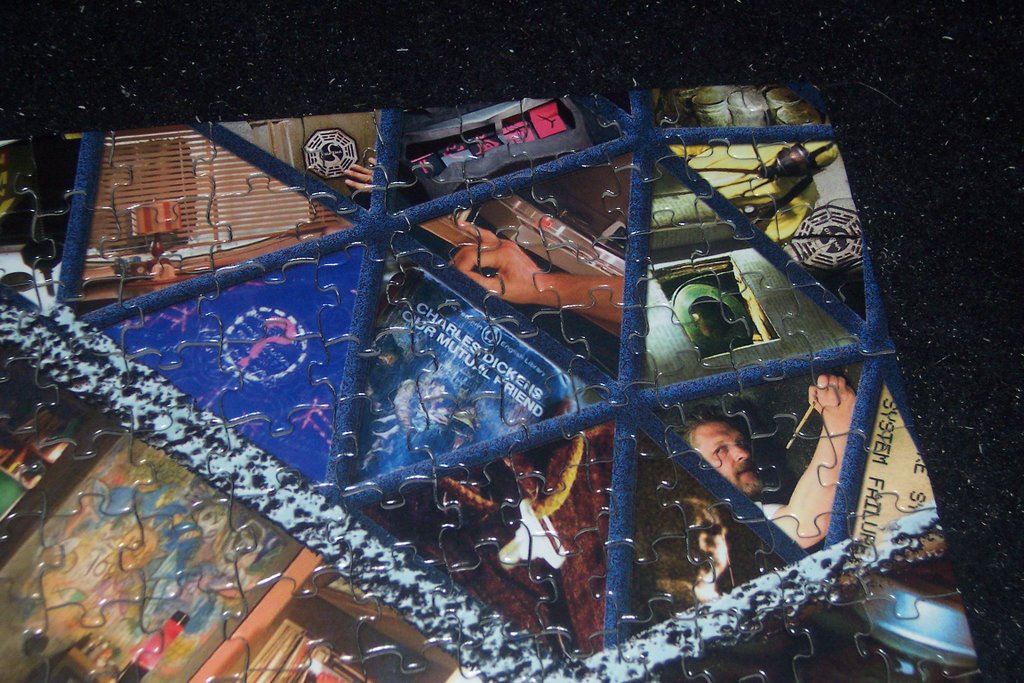
 This is a close up of Locke and Jack from the Hatch playset. The scene is right after they blow the hatch door open, at the very end of the first season finale. Kate and Hurley are in the background.
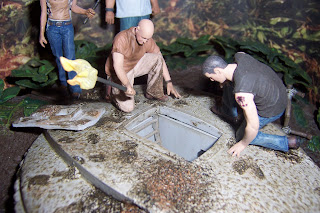
 Another close up of the hatch scene, this time with all four characters shown.
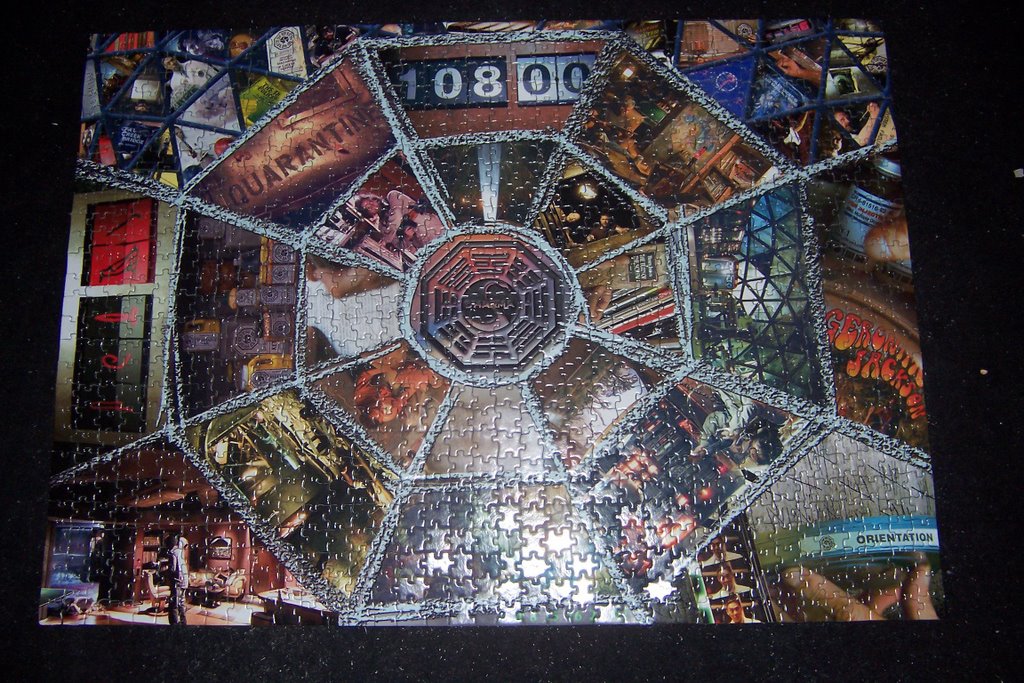
 This is a wide shot of the hatch set. You can't see it in this picture, but there's a light inside the hatch opening that shines straight up in a column, like it did in the show (although I think the light was only in the episode where Boone dies and Locke pounds on the hatch door).
All in all, they're pretty cool. Series two comes out this spring, I believe, and will feature Sawyer, Sun, Jin and Mr. Eko.
 Charlie, writing "LATE" on his finger tape. He says, "Guys... where are we?" "You don't know me? I'm a bloody rock god!" and sings "You All Everybody... You All Everybody..."
 Hurley on his two-hole golf course. He says, "Welcome to the first... and hopefully last, Island Open," "Don't! Stop! The numbers are bad!" and "Dude, I'm starving... I'm no where NEAR that hungry."
 Locke, standing over the hatch, holding a knife and a water bottle. He says, "I looked into the eye of the island, and what I saw was beautiful," "Don't tell me what I can't do, EVER!" and "Do you want to know a secret?"
 Jack, standing on some wreckage of the plane. He says, "Everybody wants me to be a leader, until I make a decision they don't like," "There's something that you need to know... We're going to have a Locke problem, and I have to know that you've got my back," and of course, "If we can't live together, we're going to die alone."
 Kate, standing in the reeds where she hid from the monster in the pilot. She says, "JACK!" (followed by thunder and rain), "1... 2... 3... 4... 5..." "If you're thinking about going for the cockpit, I'm going with you," and "I only made out with him because torturing him didn't work."
 Shannon, lying on the beach shortly after the crash. The top is cut off, but that's Boone in the white t-shirt on the backdrop. She says, "What's a four-letter word for 'I don't care'?" "The plane had a black box, idiot... I'll eat on the rescue boat," and "You want my information? Name: Shannon Rutherford. Age: 20. Address: Craphole Island."
 This is a close up of Locke and Jack from the Hatch playset. The scene is right after they blow the hatch door open, at the very end of the first season finale. Kate and Hurley are in the background.
 Another close up of the hatch scene, this time with all four characters shown.
 This is a wide shot of the hatch set. You can't see it in this picture, but there's a light inside the hatch opening that shines straight up in a column, like it did in the show (although I think the light was only in the episode where Boone dies and Locke pounds on the hatch door).
All in all, they're pretty cool. Series two comes out this spring, I believe, and will feature Sawyer, Sun, Jin and Mr. Eko.
posted by Melissa_Lossa at 10:35 AM
2 comments
![]()


