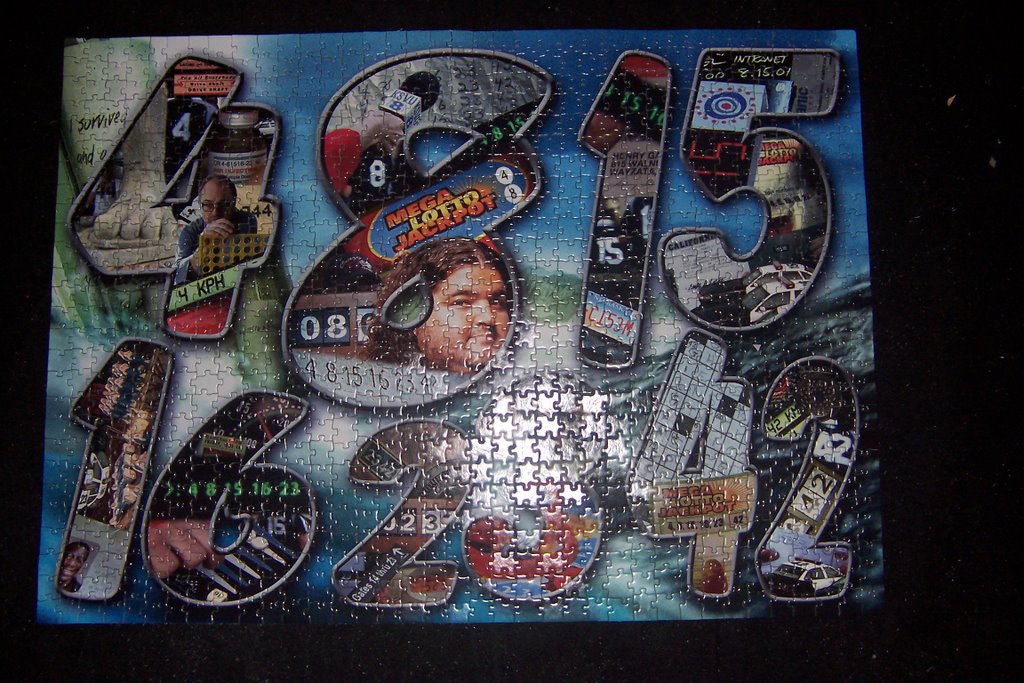
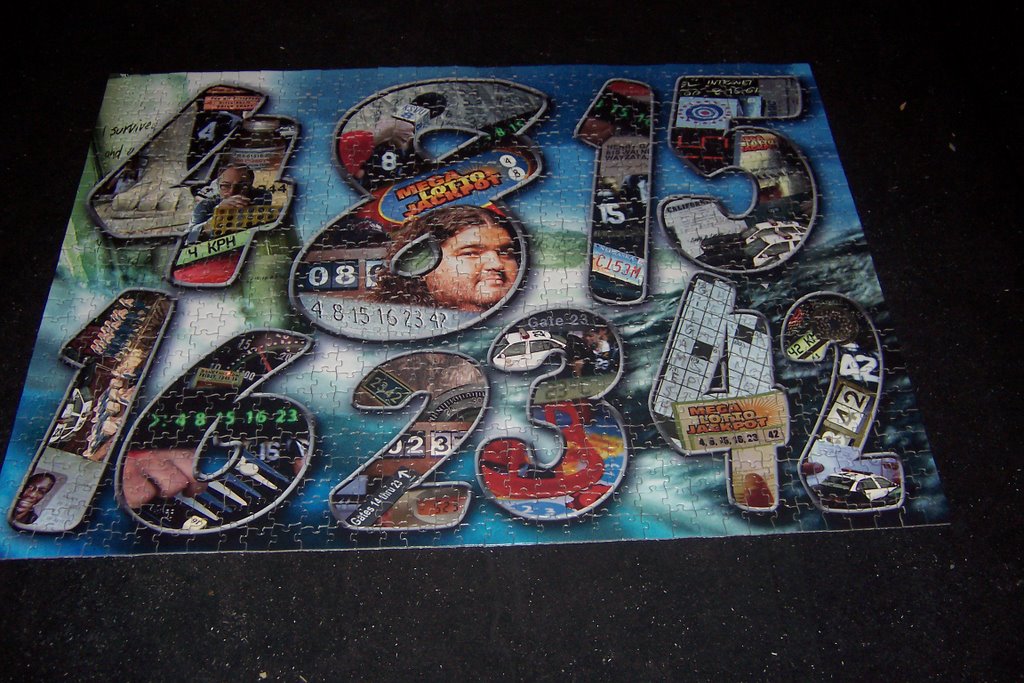
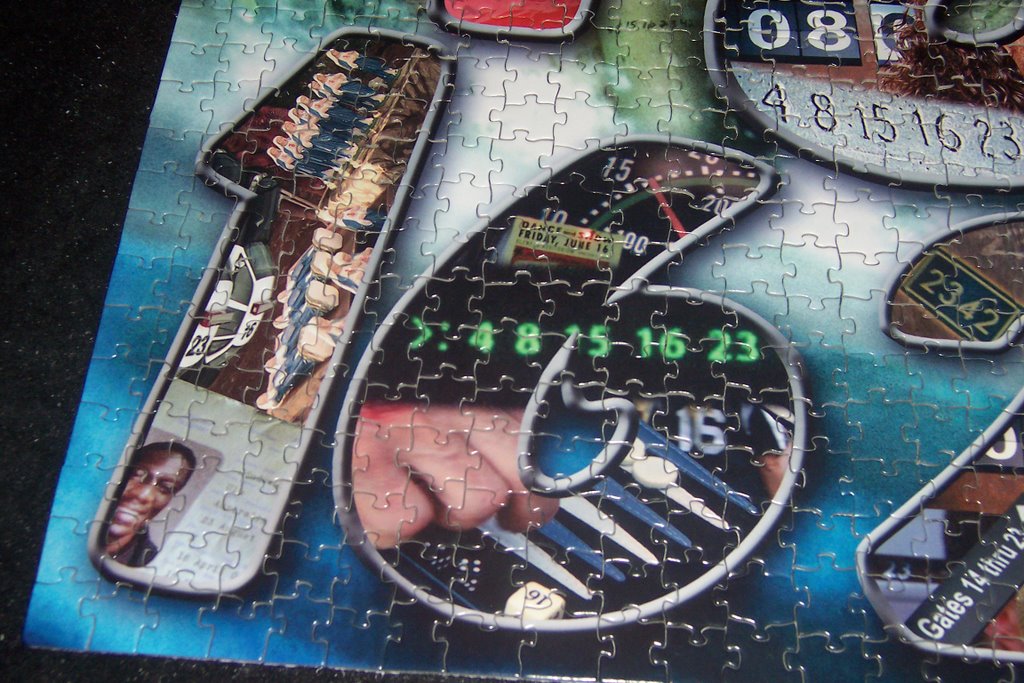
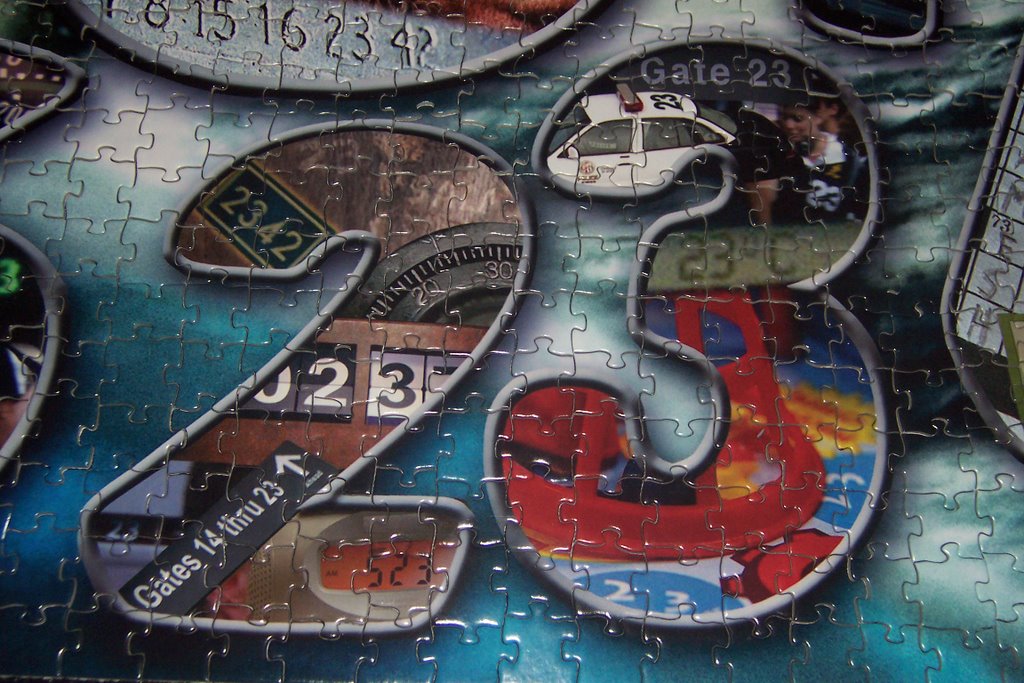
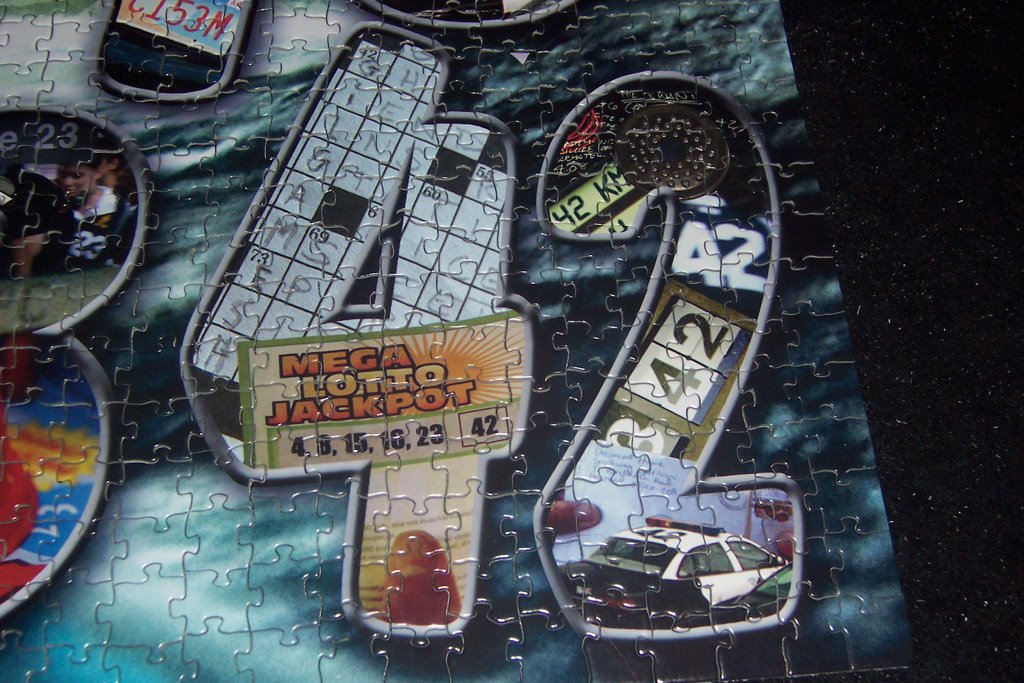
Okay, the back of puzzle #3 is the lower righthand corner of the blastdoor map, featuring speculation about the pearl station.
Here are the notes as they appear on the puzzle:
stated goal - repatriation (that may not be right, because I don't think it's a word, but I couldn't get anything else out of it)
accelerated deterritorialization of ursus maritimus through gene therapy and extreme climate change
high potential for RVS facility
subterranean conduit
primary nexus of cerebrus activity
known final resting place of magnus hanso/black rock
activity minimal during lockdown and restocking procedures
no connection to island-wide EEP Network
possible CVII - inactive since accident
REV-4.3.02 possible location of zoological research facility
sightings coincide with emergency shutdown of intronet service, periods of heightened security
The code on the back goes in one line across the bottom of the map, and then up the right hand side.
Bottom:
C12/8 C20/1+2 C7/2 C10/1+1 C20/4 C12/3 C14/2 C17/1 C8/8 C10/1+2 C7/2 C3/4 C2/7 C12/3 C5/1 C7/2 C18/2+5
Side:
C21/1+10 (underlined) C3/1 C7/2 C10/1+1 C20/2 C10/5 C6/2 (underlined) C11/3 C1/1 C9/2 C7/1 C10/4 C14/2 C6/11 C13/1+8 C16/13 C3/1 (underlined) C10/4 C8/8 C3/4 C5/1
Again, there are a couple of repeats that stick out to me. C7/2 appears a few times, as does C3/4.
I'm on vacation until this weekend, and I'll work on puzzle #1, the Others, when I get back!
posted by Melissa_Lossa at 1:11 PM
0 comments
![]()